
📌 Key Points
- ✅ Leave the cat carrier out open; don't put it away and only bring it out for vet visits
- ✅ Put snacks inside regularly for 3 to 5 days so the cat goes in and sleeps on its own
- ✅ Narrow the opening day by day; start closing the door for 10 seconds and gradually extend to 5 minutes
- ✅ Picking up the cat and stuffing it into the carrier only causes struggling and bad memories, making it more scared with each attempt
- ✅ If the old carrier has bad hospital memories, replacing it with a new one to rebuild positive associations is more effective
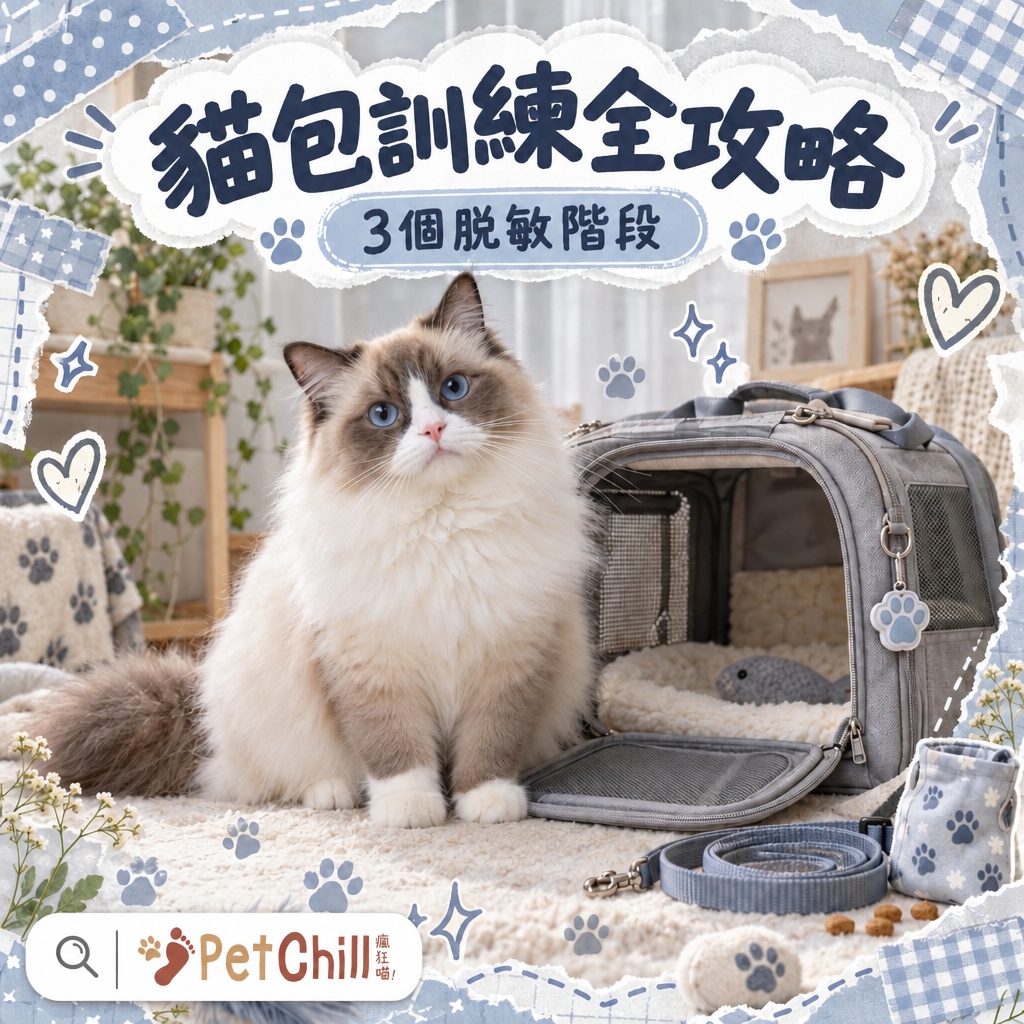
Bring out the cat carrier and your cat immediately hides under the sofa—almost every Hong Kong cat owner has experienced this. The problem is usually not the carrier itself, but that the carrier has already become linked to unhappy memories like 'going to the vet' or 'taking a car ride'. Below, referring to the pet care books Do Indoor Cats Also Need a Cat Carrier? and What to Do If Your Cat Won't Go Into the Carrier, we break down 3 desensitisation stages.
Why even indoor cats need a carrier
Many owners think 'my cat never goes out, why would it need a carrier?', but the truth is the opposite. The books point out that even for completely indoor cats, a carrier is essential for follow-up visits to the pet hospital, taking public transport, evacuation during disasters, and temporary boarding.
Cats naturally like dark, narrow spaces, and the inside of a carrier is exactly that kind of environment. As long as there are no negative associations, they actually feel relaxed inside. The books also remind us that crowds and vehicle noise on public transport can easily stress cats, and at such times the carrier is their 'safe haven'; placing an item of clothing with the owner's scent inside immediately increases their sense of security.
Stage 1: Make the carrier a place of 'benefits'
The goal of the first stage is simple: build the association 'walking into the carrier = snacks':
-
Place the carrier in the middle of the room, with the door open and left open, so the cat sees and smells it when passing by.
-
Regularly put small amounts of cat snacks or freeze-dried treats inside, so the cat remembers 'going in brings benefits', and let it enter on its own; never push it in by hand.
-
Praise the cat each time it enters and give a snack; repeat for 3 to 5 consecutive days until the cat goes in and sleeps on its own.
This stage is where impatience is most harmful; rushing to close the door before positive associations are built means starting from zero.
Stage 2: Gradually narrow the opening and extend the stay
Once the cat is used to going in, start narrowing the opening:
- Close the opening a little more each time, narrowing day by day; never close it completely all at once, as a sudden closure will make the cat wary.
- Once the opening is narrowed to a level the cat accepts, start closing the door, beginning with 10 seconds and gradually extending to 1 minute, then 5 minutes.
- While the door is closed, continue talking to the cat through the mesh and occasionally offer snacks, so it associates 'being confined' with 'nothing bad happens'.
- Always praise happily when letting the cat out; don't wait for it to scratch the door before opening.
Stage 3: Pick up and move, from indoors to outdoors
The final stage simulates real travel: first pick up the carrier and walk a few circles indoors for 30 seconds to 1 minute each time; once stable, take it to the door, ride the lift, then walk downstairs, starting short at each step. When the cat remains calm outside, training is complete. The books also remind us that if the cat reacts strongly to the old carrier (because of bad memories of 'carrier = vet'), it is more efficient to simply replace it with a new carrier and start over than to persist.
How to choose a cat carrier: 3 practical criteria
| Criterion | Why it matters | Selection advice |
|---|---|---|
| Top-opening design | When nervous, the cat won't come out, and the vet can examine from above | The books mention that clinics commonly use top-opening carriers |
| Enough space to turn around | Too narrow increases stress | The cat can turn around and stretch inside |
| Sturdy and leak-proof | Bumpy rides and leaks are troublesome | Plastic base + removable washable pad, wide mesh |
Practical tips for vet visits, car trips, and boarding
Car trips: The books point out that cats almost never get carsick; most vomiting is due to excitement and stress. On long journeys, stop every 2 hours to let the cat toilet, and offer small amounts of water frequently every hour; never leave the cat alone in the car, as it can get heatstroke in summer and hypothermia in winter. Do not give human motion sickness medication on your own; it must be assessed by a veterinarian.
Boarding: Bring the cat's usual blanket and pad before departure; the owner's scent makes the cat feel safe. The books suggest visiting the boarding facility in person beforehand to confirm that cat and dog areas are separated. If using a home visit cat feeding service, because someone is entering the cat's territory, the cat is actually less excited, but arrange a few meetings beforehand so the cat gets used to the person's scent; otherwise the cat may have elimination problems due to 'the stranger's smell'.
Vet visits: Put snacks and a pee pad in the carrier in advance; do not open the carrier immediately at the clinic, and let the vet handle it via the top opening.
Common mistakes vs correct approaches
| Common practice | What's the problem | Correct approach |
|---|---|---|
| Putting the carrier away normally and only bringing it out when needed | The cat knows something bad is up as soon as it sees the carrier | Leave the carrier out in the cat's activity area |
| Picking up the cat and stuffing it into the carrier | Causes struggling and bad memories, making it more scared with each attempt | Use snacks to guide the cat to walk in on its own |
| Closing the door and taking it out on the first try | Skipping training steps, wasting all previous effort | Gradually increase difficulty according to stages 2 and 3 |
| Persisting with an old carrier that has bad associations | Each training session revisits the trauma | Replace with a new carrier and rebuild positive associations from scratch |
PetChill's Reminder
The most important thing in training is 'let the cat lead, and progress from easy to difficult'; rushing will waste all your effort. To get a cat carrier, training snacks, and removable washable pee pads all at once, welcome to shop at PetChill; free pickup is available at our Fo Tan, Yuen Long, and Fanling stores.
To learn more about cat training, please keep following PetChill's latest articles!
References
- Hong Kong Observatory (severe weather information)
- Agriculture, Fisheries and Conservation Department (pet keeping and microchipping information)
- Government one-stop service hotline 1823 (emergency assistance)