

Quick answer: Every 2 to 4 weeks, pluck ear hair with ear powder, clean the visible ear canal with ear cleaner, check discharge colour and odour, and follow the 7+10+7 day ear mite treatment. Drop-eared dogs need it every 1 to 2 weeks. This tackles ear hair, wax and mites all at once.
Dog Ear Cleaning Guide | Master Ear Hair, Wax and Mite Control
Have you ever noticed your dog's ears? Many owners regularly bathe and brush their pets' teeth but overlook ear cleaning. In fact, a dog's ear canal is L-shaped, making it easy for dirt to accumulate. Without regular cleaning, wax buildup can lead to ear infections, ear mites and, in severe cases, hearing loss. Today, let's learn the correct ear care method step by step so your pet can stay free from ear problems!
Why do dogs' ears need special care?
A dog's ear canal is longer and deeper than a human's, and it has an L-shape that goes vertical then horizontal. This means once wax and moisture get deep inside, they are hard to drain naturally. The following factors increase the risk of ear problems:
Higher risk for drop-eared breeds: Poodles, Cocker Spaniels, Basset Hounds and other drop-eared breeds have ears that cover the ear canal, reducing airflow. The warm, moist environment becomes a breeding ground for bacteria and yeast. Studies show that drop-eared breeds are 2 to 3 times more likely to develop ear infections than prick-eared breeds.
Excess ear hair blocking the canal: Breeds like Poodles and Bichon Frises grow abundant hair inside the ear canal. Without regular removal, this hair obstructs airflow and makes wax buildup more likely.
Moisture left after swimming and bathing: If water enters the ear canal and is not cleaned out promptly, it creates a damp environment that increases the risk of fungal infection. This is why ear care should be done before bathing.
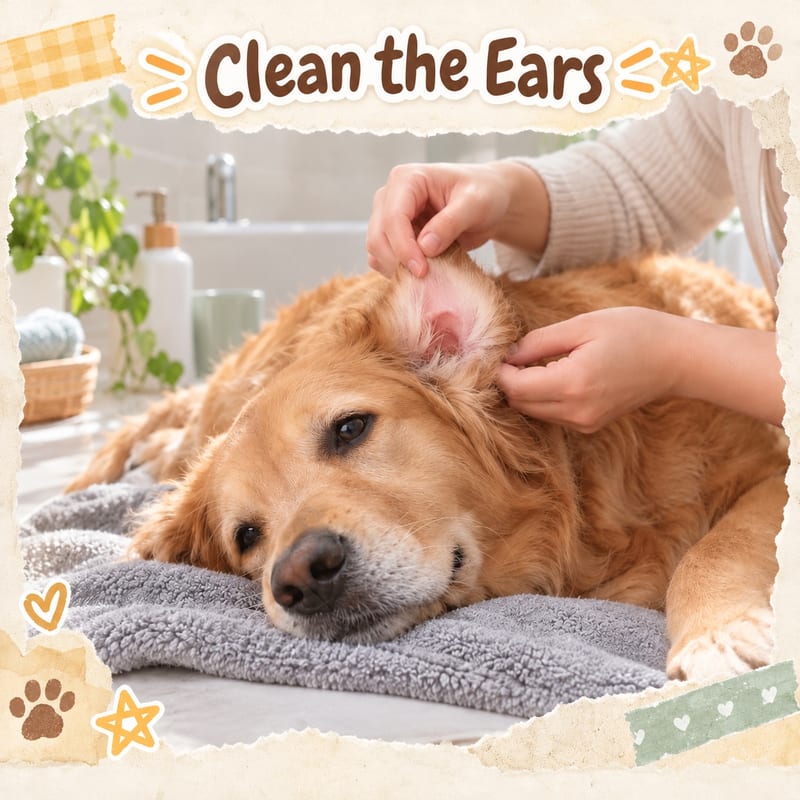 4 Steps to Clean Your Dog's Ears
Step 1: Remove ear hair
Ear hair removal is usually done before bathing. First, fold back your dog's ear to expose the hair at the base, spray a small amount of ear powder onto the hair, and rub the powder into the hair. Then grasp the hair and pull quickly in the direction of hair growth. If needed, use forceps to help, but never go too deep into the ear canal to avoid injury. After removing ear hair, ventilation improves noticeably and subsequent cleaning is more effective.
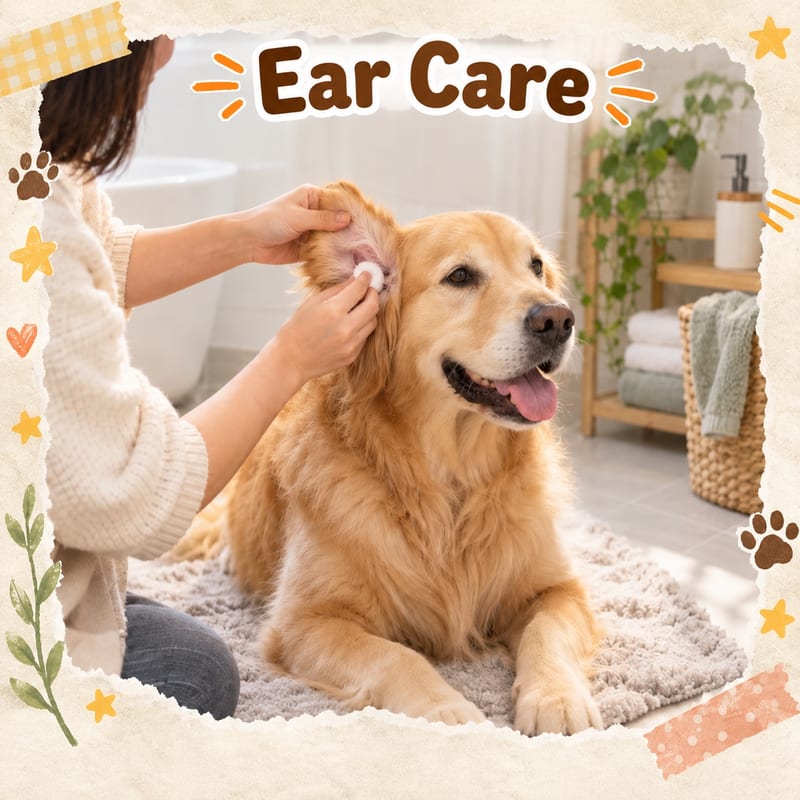
Step 2: Clean with ear cleaner
After dealing with ear hair, gently clean the inside of the ear with a cotton swab soaked in ear cleaner. Only clean the visible area; do not insert the swab deep into the canal. Ear cleaner softens wax and inhibits bacterial growth, effectively preventing ear canal inflammation. Choose a pet-specific ear cleaner recommended by your veterinarian and avoid alcohol-containing products that can irritate the ear canal.
Step 3: Check the ear canal condition
During cleaning, carefully observe the inside of the ear canal. A normal ear should be light pink and odourless. If you notice any of the following abnormalities, see a vet as soon as possible:
• Dark brown or black discharge (possibly yeast infection)
• Yellow-green purulent discharge (possibly bacterial infection)
• Strong odour
• Redness or bleeding in the ear canal
• Persistent scratching, head shaking or head tilting
Step 4: Ear mite prevention and treatment
Ear mites are common ear parasites. After infection, dogs frequently scratch their ears and shake their heads, and dark brown crumbly discharge can be seen in the ear canal. Since the ear mite life cycle is about 10 days, treatment requires patience:
• Phase 1: Use flea spray for 7 consecutive days to kill existing ear mites
• Interval: Wait 10 days to let remaining eggs hatch
• Phase 2: Spray for another 7 consecutive days to completely eliminate newly hatched mites
Special reminder: Ear mites are contagious. If one pet in the home is infected, all pets that have been in contact need treatment at the same time, otherwise reinfection will occur.
5 Ways to Prevent Ear Problems Daily
-
Weekly check: Develop a habit of observing your dog's ears every week to catch abnormalities early.
-
Keep ears dry: After swimming or bathing, gently absorb moisture at the ear opening with a clean cotton ball.
-
Regular ear hair removal: For breeds with heavy ear hair, remove ear hair every 2 to 4 weeks.
-
Avoid over-cleaning: Over-cleaning can irritate the ear canal and stimulate more wax production. A deep clean every 2 to 4 weeks is generally sufficient.
-
Regular vet check-ups: Take your dog for an ear canal examination at least once a year to catch potential problems early.
FAQ
Q: How often should I clean my dog's ears?
A: Generally, check your dog's ears weekly and do a deep clean every 2 to 4 weeks. Drop-eared breeds like Poodles and Cocker Spaniels may need cleaning every 1 to 2 weeks due to poorer ventilation. If your dog swims often or ears get damp easily, increase frequency accordingly.
Q: How can I tell if my dog's ears need cleaning?
A: A normal dog's ear canal should be light pink and odourless. If you notice dark discharge, odour, redness, or frequent scratching or head shaking, the ears need cleaning or may be infected—deal with it promptly or see a vet.
Q: Do I need to pluck my dog's ear hair?
A: For breeds with heavy ear canal hair (like Poodles and Bichon Frises), regular plucking helps keep the canal ventilated and reduces wax buildup and infection risk. Use ear powder to help, but be gentle and avoid going too deep into the canal. If unsure, have a professional pet groomer do it.
Q: Can ear mites spread to other pets?
A: Yes. Ear mites are contagious. If one pet in the home is infected, all pets that have been in contact need treatment at the same time. The ear mite life cycle is about 10 days, so you need to use flea spray for 7 consecutive days, wait 10 days, then treat for another 7 days to eliminate them completely.
Q: Can I use a cotton swab deep inside my dog's ear canal?
A: It is not recommended to insert cotton swabs deep into the ear canal, as this can push wax deeper and even damage the eardrum. The correct approach is to gently clean the visible outer areas with a cotton swab dipped in ear cleaner; deep cleaning should be left to a veterinarian or professional groomer.
 PetChill's Reminder
Ear health is an important part of your dog's overall health. Regular cleaning, careful observation and timely veterinary care can keep your pet free from ear problems. Remember, prevention is always better than helps manage. Spending a few minutes each week checking your dog's ears can prevent small problems from becoming big troubles. If you notice any abnormality, don't hesitate—take your dog to the vet immediately!
Hong Kong Small Flat Practical Guide: An Ear Care Schedule That Works Even in Tiny Spaces
Hong Kong homes are small and humid, making dogs' ears more prone to problems. Here is a "small flat ear care schedule" designed for Hong Kong people—no need for large space or elaborate setups, and it works for drop-eared Poodles and Cocker Spaniels too.
Monday "Look, Smell, Ask, Check" 2 minutes Before bed, turn on your phone light, gently fold back the ear flap, sniff for any sour or foul odour, and check if the colour is light pink. If you see dark discharge, take a photo immediately and WhatsApp your regular vet for advice—no need to rush to the emergency room.
Wednesday "Dry Ear Action" 3 minutes When you get home from work, roll a kitchen paper towel into a point and gently absorb moisture at the ear opening. It rains often in Hong Kong, and dogs get wet feet and ears after walks. This step reduces fungal breeding grounds.
Friday "Pluck + Clean" 10 minutes Do it on the sofa while your dog is full and napping. Sprinkle a small amount of ear powder, pinch and pull with your fingers—no need for a full grooming table. Then drip two drops of ear cleaner onto a cotton ball and wipe the outer ear. Keep the air-conditioning and dehumidifier on throughout to avoid moisture being trapped in the ear canal.
Last Sunday of each month "Whole Family Check" Check all pets' ears at once. If you find ear mites, immediately go to the pet street in Prince Edward or Mong Kok to buy flea spray and treat the whole house simultaneously to avoid cross-infection. Keep the receipt; if you need to see a vet, you can show the medication record.
When to see a vet? If any of the following occur, book a vet immediately—don't delay: redness or bleeding in the ear canal, yellow-green discharge, or violent head shaking or head tilting. Hong Kong veterinary clinics are generally open on Sundays; find one with night service in case of emergencies.
| Step | Tools | Key Reminder |
|---|---|---|
| 1. Pluck ear hair | Ear powder + forceps | Pull quickly in the direction of hair growth; don't go too deep into the canal |
| 2. Clean | Vet-recommended ear cleaner + cotton swab | Only wipe visible areas; don't go deep into the canal |
| 3. Check | Visual inspection | Light pink and odourless is normal; dark brown, yellow-green or odour means see a vet |
| 4. Mite prevention | Flea spray | Spray 7 days → stop 10 days → spray 7 days; treat all pets in the home simultaneously |
Further Reading
📌 Key Summary
- ✅ Check ear canal colour and odour weekly to catch abnormalities early
- ✅ Clean after plucking ear hair for better ventilation and easier wax removal
- ✅ Do ear care before bathing to avoid moisture retention
- ❌ Don't insert cotton swabs deep into the ear canal—it can push wax toward the eardrum
- ❌ Over-cleaning can irritate the ear canal and stimulate more wax production